Cars are made to move. Leaving your car stagnant for long periods of time can be detrimental to their performance. This stay-home period, try your hand at these handy car maintenance and care tips!
One thing’s for sure, Singaporeans are highly adaptable. With many of us now back to working from home full time while Phase 2 Heightened Alert is ongoing, it’s almost like slipping back into an old pair of shoes. Our workstations are already set up, and so too are the kids’ desks for home-based learning. For those of us who can’t head to the gym, we find other ways to keep fit at home, or in the great outdoors.
The same can be said for our cars too. As machines that are made to move, the lack of movement can create more problems than regular use might. Fortunately, there are alternative solutions that can tide your car through long, stationary periods. Here are some tips to keep your car in shape, and in the meantime, why not get it to shine too?
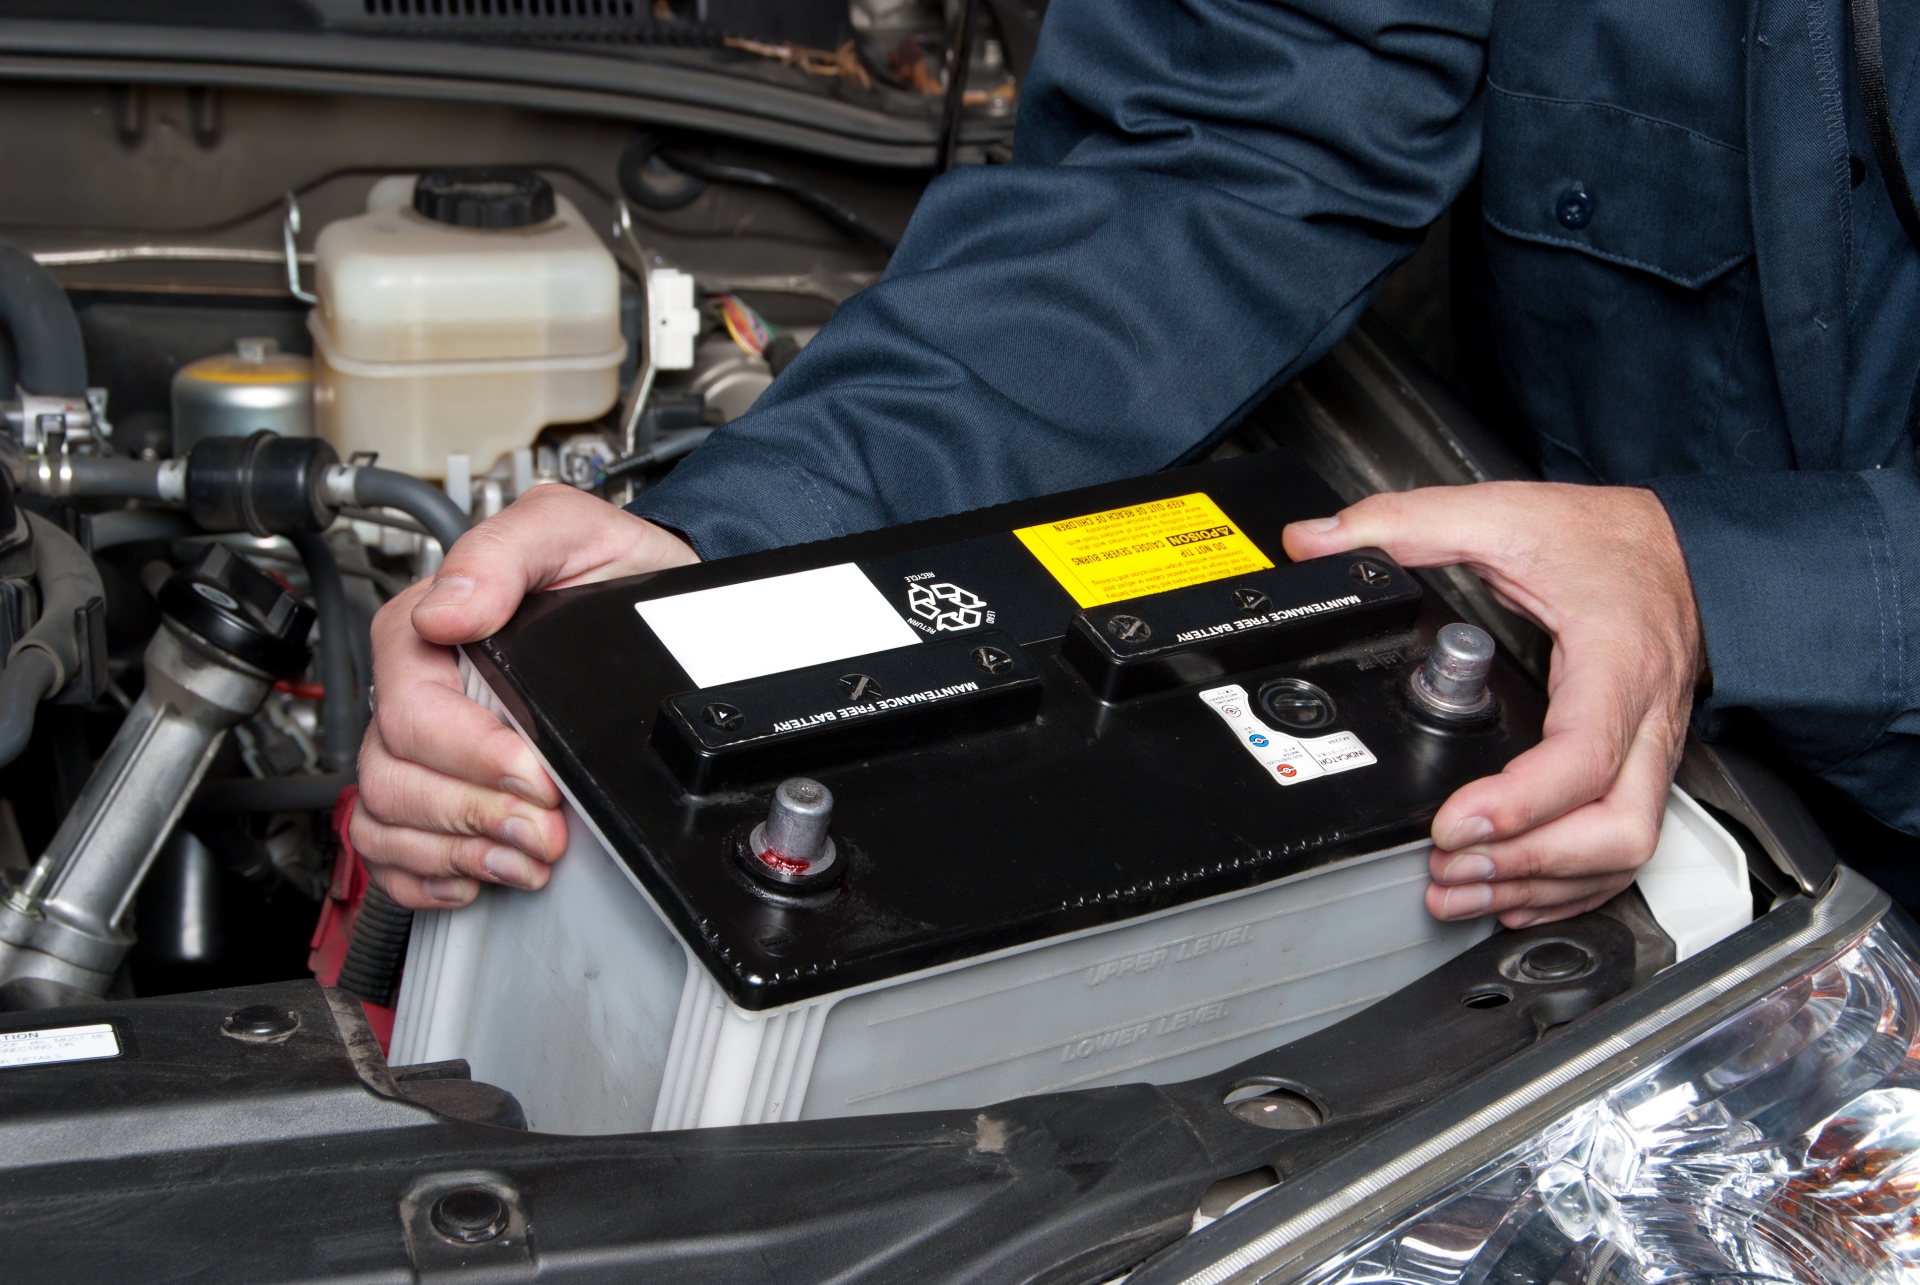
Charge your car’s battery
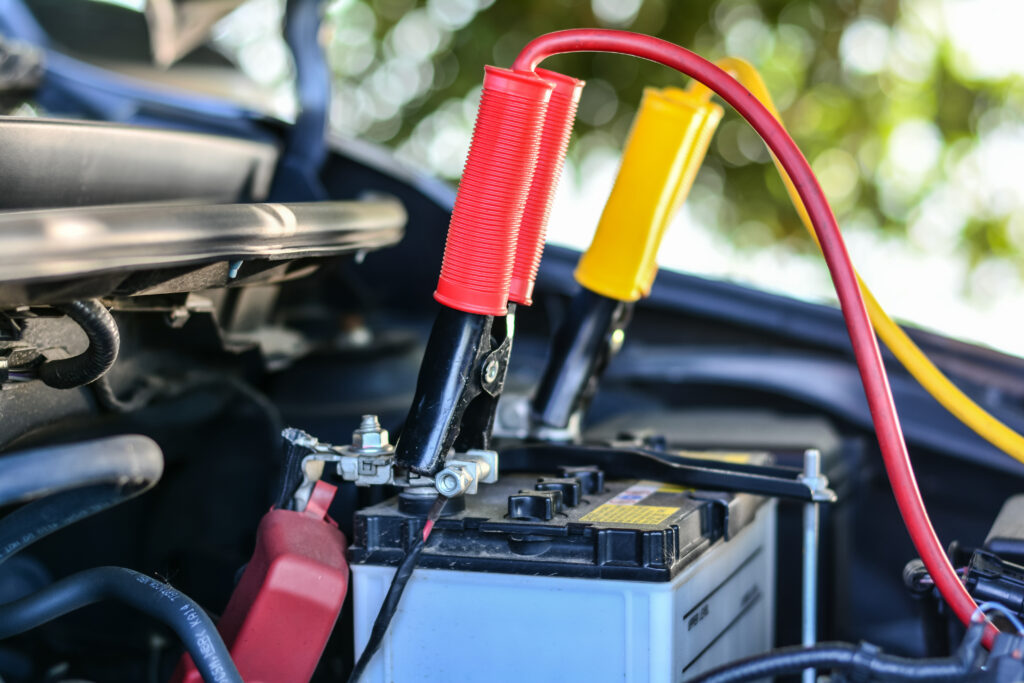
Batteries, including car ones, self-discharge over time. This means that in the long run, not moving your car for a long time would result in the battery draining completely. There is, however, a very simple solution to this. By taking your car out for a short spin weekly, this helps the battery maintain a level of charge. Should it drop too low, your car may need jump-starting.
What’s the worst that could happen? Go too long without charging your battery, and you may need to replace it altogether.
Over-inflate your tyres slightly

Much like balloons that deflate over time, tyres too lose air gradually. An under-inflated tyre can cause a myriad of problems, from seemingly minor ones like shortening your tyres’ lifespan, to losing control of the car. Flat spots could also occur, and result in extra vibrations and noise.
If you know that your car will not be moving for an extended period, over-inflate them slightly by about ten percent. This will kerb the deflation until you are ready to drive again.
Keep your car covered
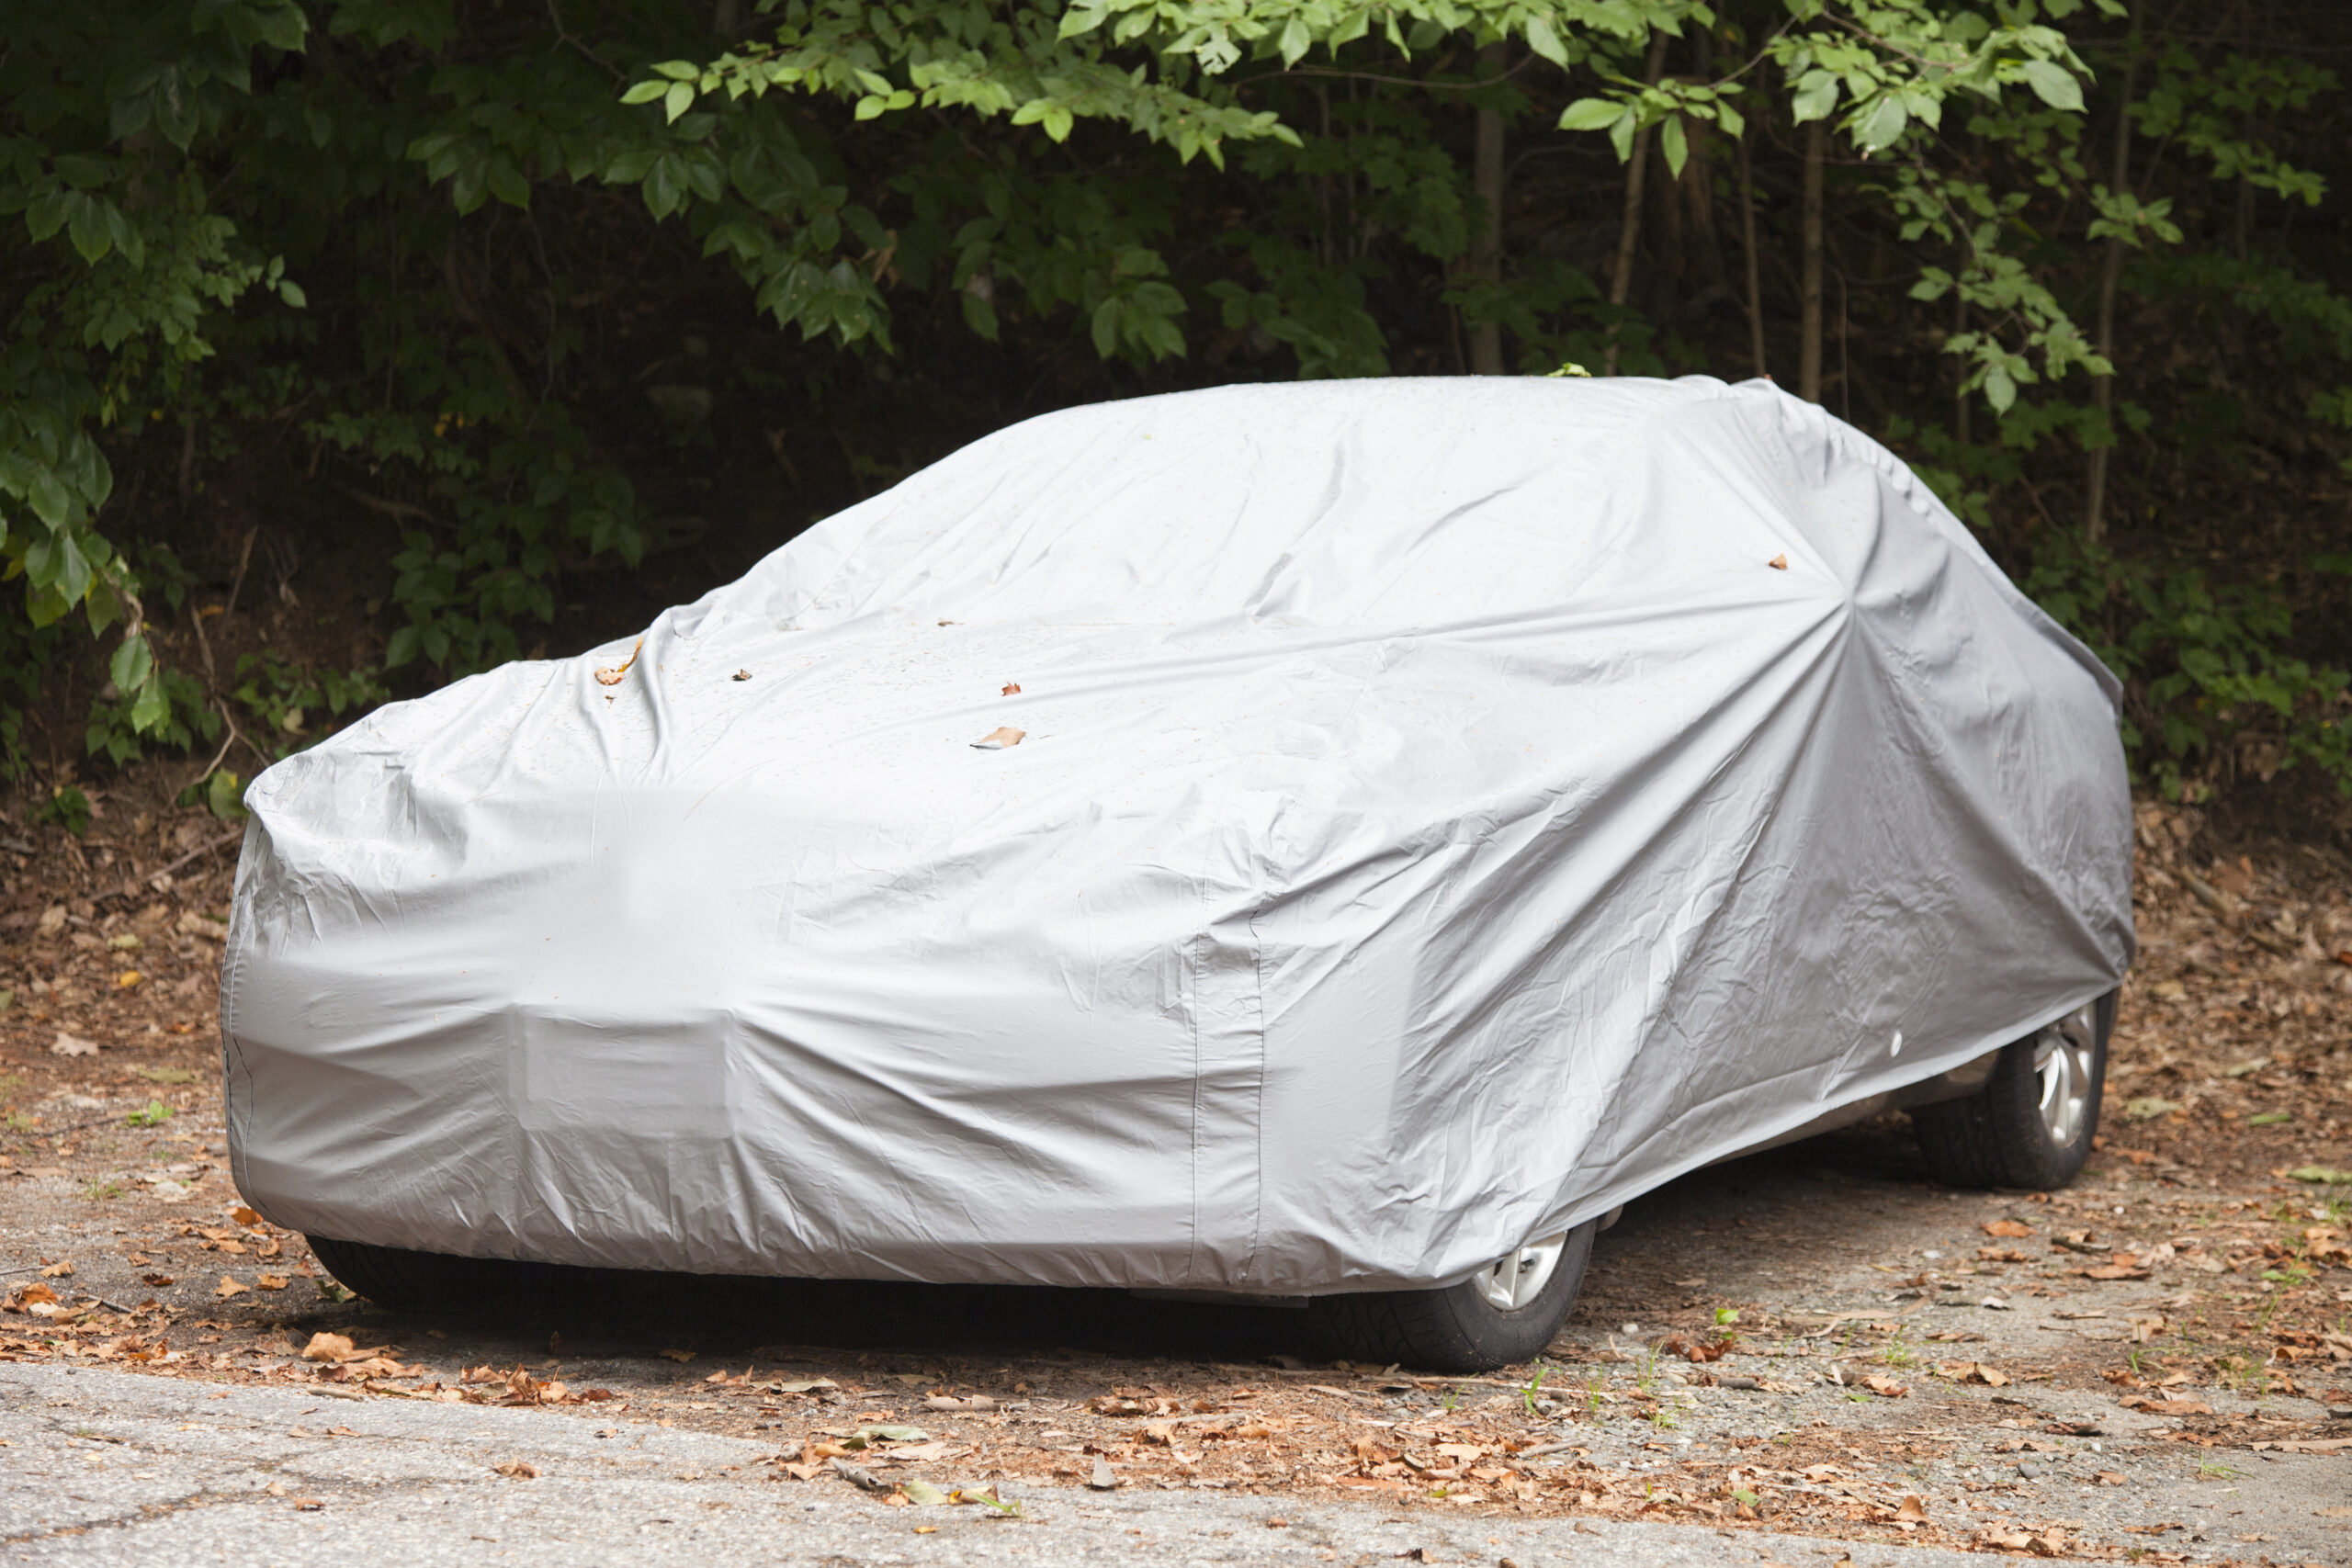
For our next tip, drivers with access to a covered carpark can count themselves lucky. Cars exposed to the external environment for extended periods are subject to more than just bird poo. Harsh sunlight breaks down the components in your paintwork over time, leaving it looking dull. Acid rain, bird poo and tree sap too can damage your car’s paint.
If covered carparks are not immediately available, consider investing in a car cover to help guard your ride from the elements.
Give it the ‘blow-dry’ treatment after washing

If you didn’t manage to get that car cover, your car is probably due for a wash. Whether you’ve brought it for a quick rinse at the petrol station, or laboured a few hours for a deep clean, take it for a spin after to thoroughly dry the brakes. A wipe-down might not be sufficient and parking the car while the brakes are wet will cause rust to form.
After giving your car’s ‘legs’ some much needed stretching, how about laying on some TLC next?
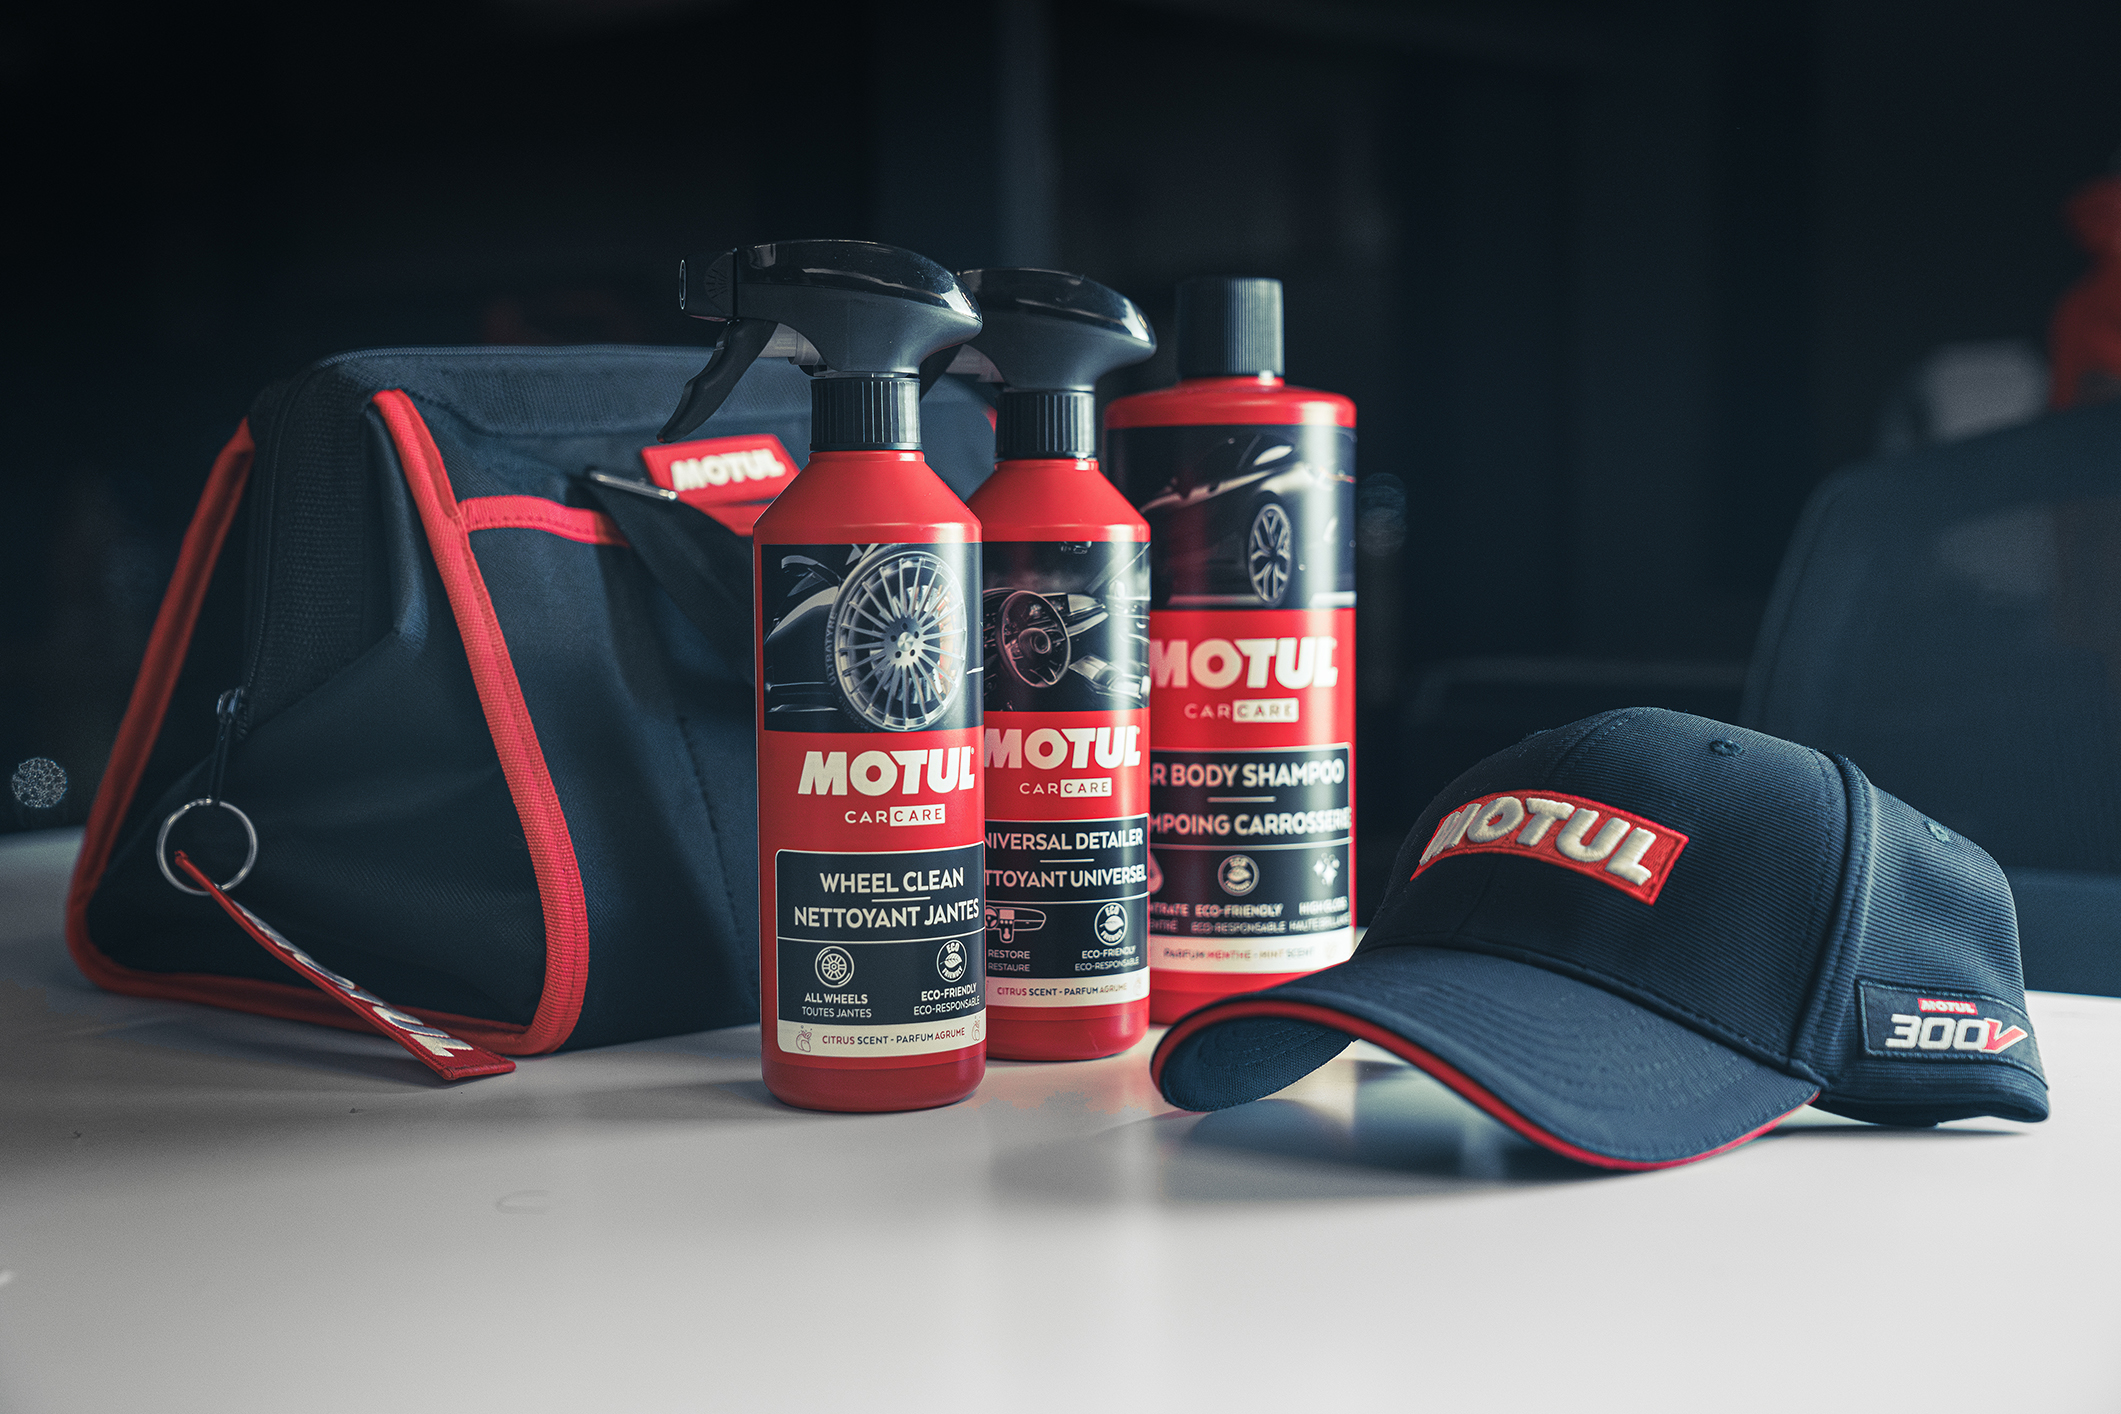
Start with your wheels

Nothing mismatches a well-groomed car more than grimy, mud-caked wheels. But, this is easily solved in just three steps:
- Spray on some wheel cleaner and let it sit for 3 to 5 minutes.
- Use a brush to loosen and remove the dirt.
- Rinse the tyres, and repeat from step 1 if necessary.
Pro tip: Don’t let the wheel cleaner dry on the wheels!
Wash your car

Before polishing or waxing, any dirt or contaminants on your car should be removed.
- Rinse your car.
- Mix car shampoo into a bucket of water, and begin washing, rinsing your wash mitt occasionally.
- Work on your car section by section, washing off the shampoo at the end of each panel.
- Once completed, dry the car with a microfibre cloth.
Remove contaminants

A simple wash alone won’t be enough to get rid of all the contaminants. Here’s an extra step you can take to be doubly sure.
- Tear off a small chunk from a clay bar, and flatten it into a patty.
- Spray wax directly on to one section of the patty.
- Move the clay back and forth on the car’s surface in straight-line strokes until there is little to no resistance.
- Wipe dry with a microfibre cloth and move on to the next section.
Polish your car
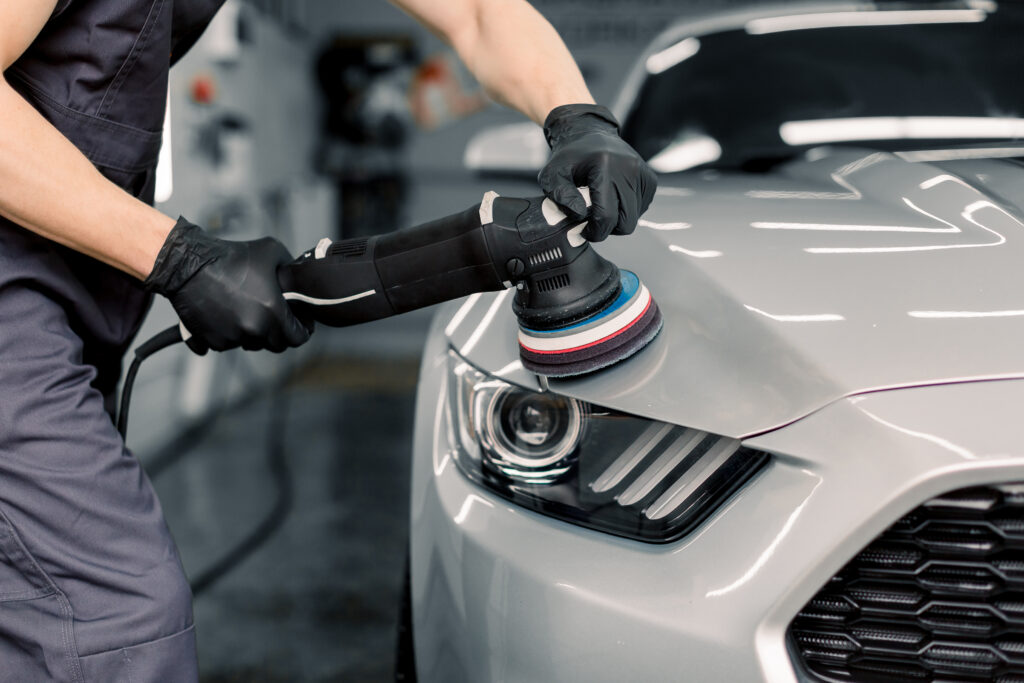
Now that all the contaminants are off your car, you can work on getting rid of fine scratches and swirls by polishing.
- Cover delicate areas like rubber moulding with masking tape.
- Centre an applicator pad on your orbital polisher, and add some one-step polishing compound to the applicator.
- Beginning at a low speed, spread the compound on the area you are working on before adjusting to a higher speed.
- Use back-and-forth strokes until there is an even coat of the polishing compound, and wipe clean with a microfibre cloth.
Wax the surface
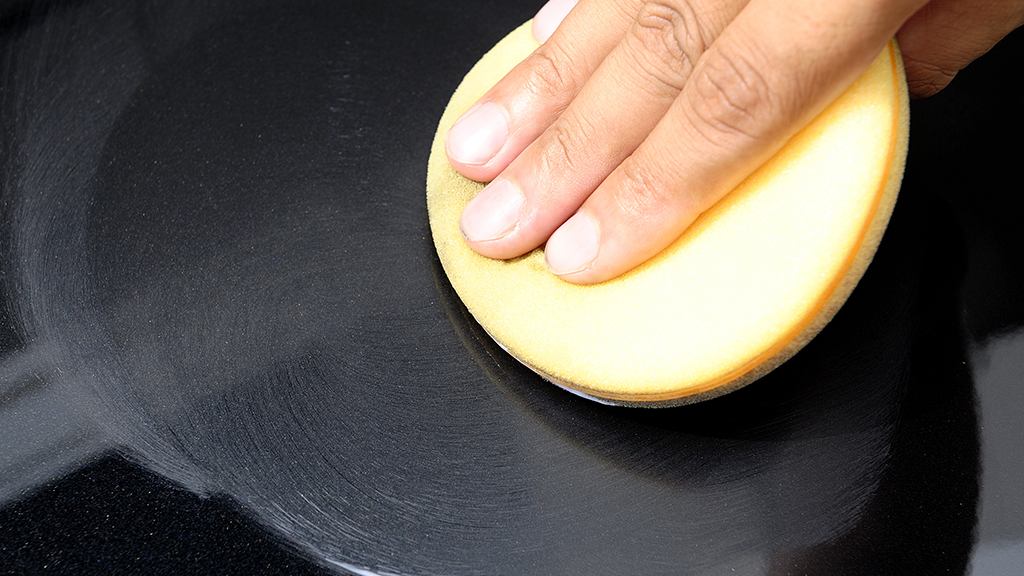
You’re almost done! Give your car that smooth shine with a round of waxing.
- Using the orbital polisher or a hand-wax applicator pad, apply a small amount of wax and rub the wax onto the surface.
- Remove any excess wax with a microfibre cloth before moving on to the next section.
Shine your tyres
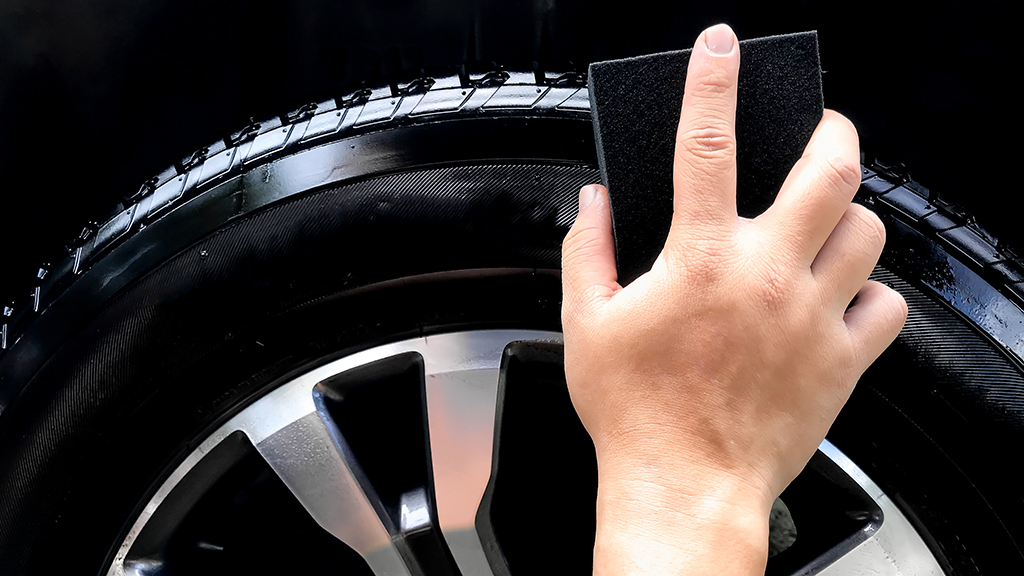
For your final step, leave no stone unturned and add that gleam to your tyres too!
- Add a small amount of tyre shine gel to an applicator pad, and rub it into the sidewall of the tyres.
And, you’re done! Pampering your car can be laborious, but the result will surely be rewarding when your car looks spick and span. Of course, if you prefer to get it done professionally, AutoApp is here to help!
In need of maintenance help, or thinking of a grooming session? Download AutoApp to book your services!